Trezor.io/start: Your Gateway to Secure Crypto Management
In the ever-evolving world of cryptocurrency, safeguarding your digital assets is paramount. Trezor, a pioneer in hardware wallet technology, offers a robust solution through its official setup platform: Trezor.io/start. This guide provides a comprehensive walkthrough to help you set up your Trezor device and embark on a secure crypto journey.
🔐 What Is Trezor.io/start?
Trezor.io/start is the official onboarding portal for all Trezor hardware wallets, including the Model One, Model T, Safe 3, and Safe 5. Whether you're a novice or an experienced user, this platform offers a seamless, step-by-step setup process tailored to your specific device.
🛠️ Getting Started: Step-by-Step Setup
-
Visit Trezor.io/start
Open your web browser and navigate to Trezor.io/start. The site will automatically detect your device model and guide you through the initialization process. -
Connect Your Trezor Device
Plug your Trezor hardware wallet into your computer using the provided USB cable. Ensure that the device displays a lock icon, indicating it's ready for setup. -
Install Firmware
If your device is new, it will ship without pre-installed firmware. Follow the prompts to install the latest firmware, ensuring your device operates with the most recent security features. -
Create a New Wallet or Recover an Existing One
-
New Users: Select "Create new wallet" to generate a fresh wallet.
-
Existing Users: Choose "Recover wallet" and enter your recovery seed to restore access to your previous wallet.
-
-
Backup Your Wallet
You'll be prompted to write down a series of words—your recovery seed—on the provided card. This seed is crucial for restoring your wallet in case of device loss or failure. -
Set a PIN
To protect your device from unauthorized access, set a PIN. This adds an extra layer of security, ensuring that only you can access your wallet. -
Access Trezor Suite
Once setup is complete, you can access your wallet through the Trezor Suite application. This platform allows you to manage your crypto assets, including sending, receiving, and monitoring your holdings.
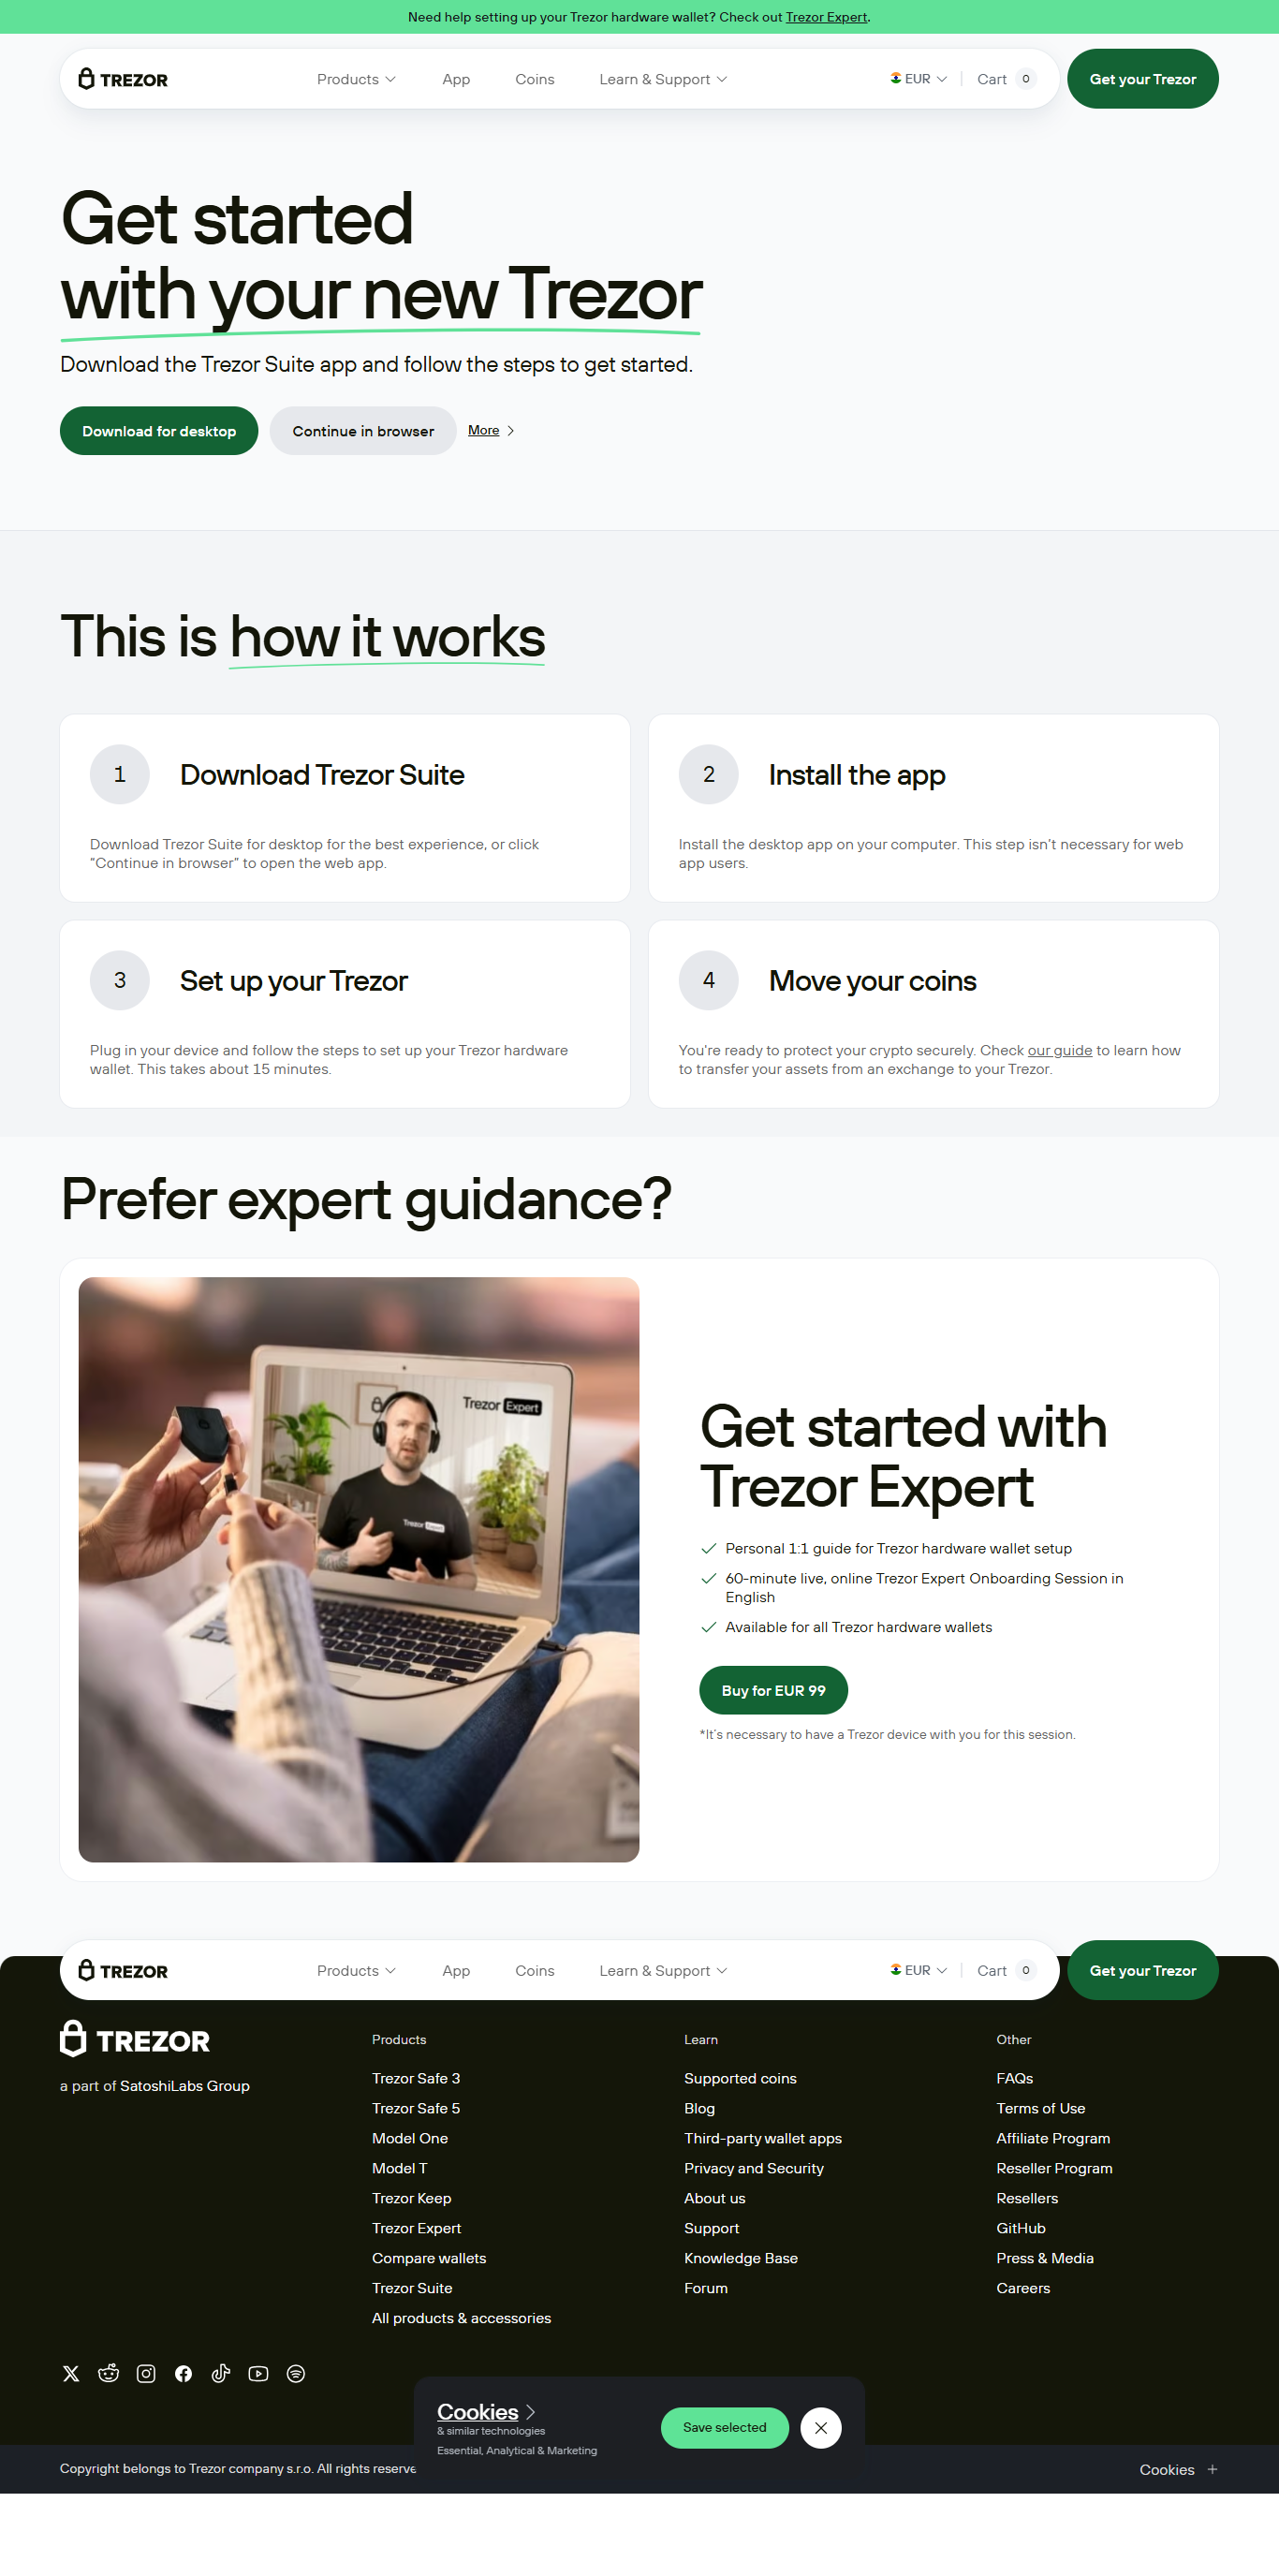
🧠 Need Assistance? Book a Trezor Expert Session
For personalized guidance, consider booking a Trezor Expert Onboarding Session. This 60-minute, one-on-one session provides step-by-step assistance in setting up your device and understanding the basics of self-custody. Available in English, these sessions are designed to boost your confidence in using your Trezor hardware wallet. Please note that the price of the session does not include a Trezor hardware wallet; you'll need to purchase one separately from the Trezor Shop.
💡 Tips for a Smooth Setup
-
Ensure Device Authenticity: Before starting, verify that your Trezor device's packaging is intact and the holographic seal is unbroken. If there's any sign of tampering, contact Trezor Customer Support immediately.
-
Use Compatible Hardware: For optimal performance, ensure your computer's operating system is up-to-date and compatible with the Trezor Suite application.
-
Secure Your Recovery Seed: Store your recovery seed in a safe place, separate from your Trezor device, to prevent unauthorized access.
🚀 Conclusion
Setting up your Trezor hardware wallet through Trezor.io/start is a straightforward process that enhances the security of your cryptocurrency assets. By following the guided steps and utilizing available resources like the Trezor Expert Onboarding Session, you can confidently manage your digital wealth. Remember, the security of your crypto assets begins with the proper setup of your hardware wallet.